
Introduction
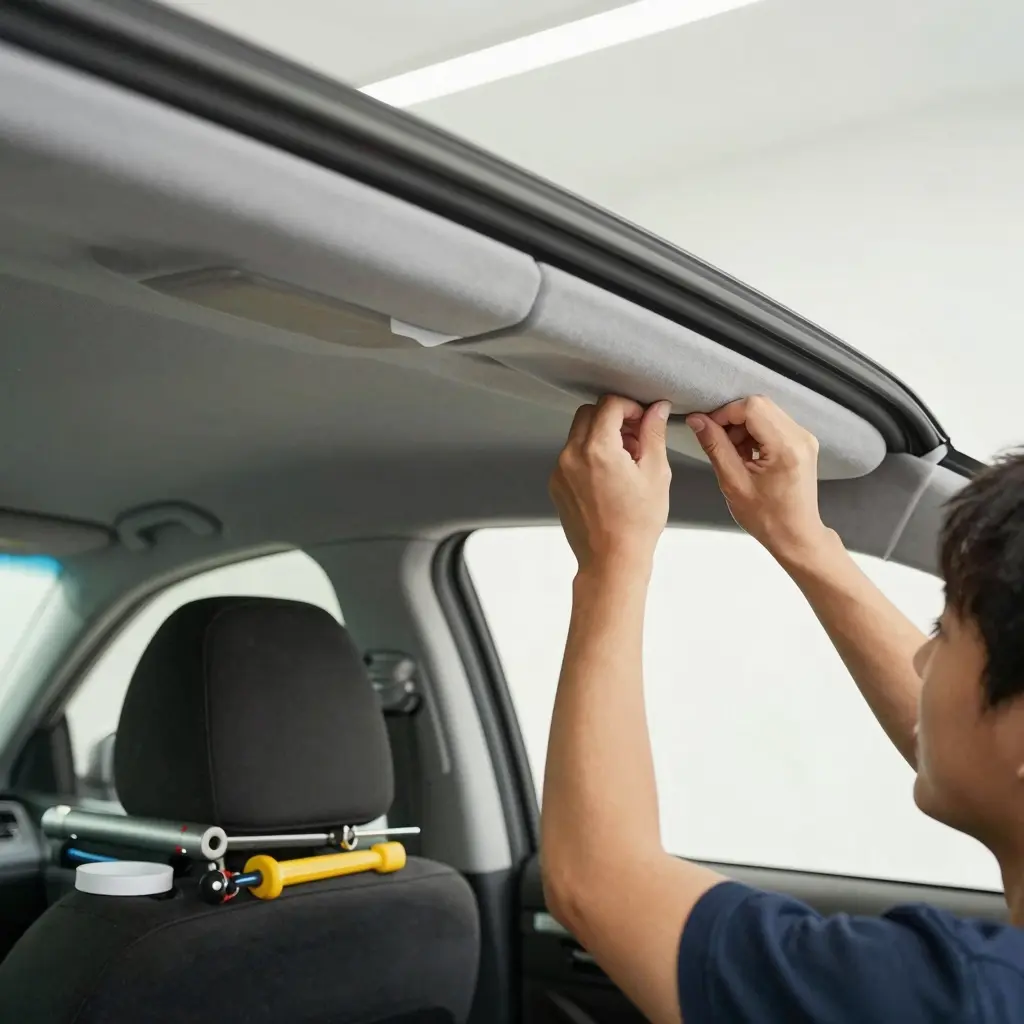
Every motorcycle and auto owner has likely encountered the frustrating sight of a sagging headliner. Not only does it mar the aesthetic appeal of the vehicle’s interior, but it can also be a nuisance during daily use, tapping against your head while you drive or ride. A damaged headliner can diminish the value of your vehicle and leave you feeling less proud of your investment. It’s a common issue that many choose to ignore, but repairing an auto headliner can rejuvenate your vehicle’s interior and enhance your driving experience. Whether you’re an enthusiast or merely someone who wants to keep their vehicle looking its best, understanding how to repair auto headliner is crucial for maintaining the overall look and feel of your ride. With the right techniques, you can restore that fresh, clean appearance and ensure your car or motorcycle turns heads for all the right reasons. Learn more about maintaining your vehicle’s interior and discover how easy it can be to tackle this DIY project with confidence.
Common Headliner Issues Leading to Repairs
When it comes to auto headliners, several problems can lead to the need for repairs. Identifying these issues early can prevent more extensive and costly fixes down the line. Here’s a list of common headliner problems:
- Sagging: This is the most frequent issue, where the headliner loses its adhesive grip and droops down.
- Peeling: The material can start to detach from the underlying foam or surface due to age or moisture.
- Stains: Spills, leaks, or general wear can lead to visible stains, affecting the car’s overall appearance.
- Deterioration from UV Damage: Sun exposure can cause the headliner materials to degrade, losing their color and integrity.
- Tears or Rips: These can happen due to wear and tear, especially in vehicles that are frequently used.
- Mold Growth: Moisture problems can lead to mold forming on the headliner, requiring careful removal.
- Odors: Unpleasant smells can arise from spills or mold, indicating a need for cleaning or replacement.
Understanding these common issues can help you stay proactive about your vehicle’s interior. For those looking to dive deeper into maintenance practices, check out our guides on common car maintenance mistakes and how to repair auto leather seats.
Taking action sooner rather than later can significantly enhance the longevity and comfort of your vehicle!
DIY Methods for Repairing a Headliner
Repairing your vehicle’s headliner doesn’t require a professional; with the right tools and materials, you can do it yourself. Below is a comprehensive guide to help you through the process, ensuring your headliner looks fresh and clean again.
Materials Needed
- New Headliner Fabric: Choose a material that matches your vehicle’s interior. You can find headliner fabric at auto parts stores or online.
- Adhesive: A high-quality spray adhesive is recommended. Some popular products include:
- 3M Headliner, Fabric and Carpet Adhesive Spray
- Adhesives specifically formulated for automotive use.
- Scraper and Scissors: To remove old material and cut your new fabric to size.
- Measuring Tape: For accurate measurements of the headliner area.
- Cloth or Sponge: For cleaning surfaces before applying new adhesive.
- Optional: Foam padding if your headliner requires extra cushioning.
Step-by-Step Instructions
- Remove the Headliner Board:
- Start by removing any trim around the headliner, including visors and overhead lights. Carefully unscrew or unclip as needed.
- If necessary, take out the headliner board to work on it more comfortably.
- Clean the Surface:
- Use a cloth or sponge to clean the headliner board and the surface of the existing fabric. Remove old glue, dirt, and debris thoroughly.
- Cut the New Fabric:
- Measure and cut the new fabric to fit the headliner board. Leave a few extra inches on all sides for adjustments.
- Apply the Adhesive:
- Spray an even layer of adhesive on the headliner board, according to manufacturer instructions. Let it sit for a few minutes for the best bond.
- Attach the Fabric:
- Carefully lay the new fabric on the board, ensuring it is smooth and wrinkle-free. Press down firmly, especially around the edges.
- Reassemble the Interior:
- Once the adhesive has dried (usually takes about 30-60 minutes), put the headliner board back in place and reattach the trim and visors.
Tips for Success
- Work in a well-ventilated area to avoid inhaling adhesive fumes.
- Take your time when cutting and applying to avoid mistakes.
- If unsure about any step, consider watching tutorial videos for visual guidance.
For additional DIY assistance or other maintenance tips, check out our guide on avoiding car maintenance mistakes. Taking the DIY approach not only saves money; it also gives you the confidence to handle future repairs yourself!
| Material | Cost Range | Availability | Suitability |
|---|---|---|---|
| Headliner Fabric | Low | Common | Compact, SUV, Luxury |
| Foam Padding | Moderate | Common | Compact, SUV |
| Adhesive Spray | Low | Common | Compact, SUV, Luxury |
| Upholstery Glue | Low to High | Specialized | Compact, SUV, Luxury |
For more information on automotive maintenance, check this article on common engine maintenance mistakes or learn about DIY oil changes.
When to Seek Professional Help for Headliner Repairs
Repairing or replacing an auto headliner can appear to be a straightforward DIY task, but there are specific indicators suggesting that it may be a better option to seek professional help. Here are some key factors to consider:
Complexity of the Issue
- Severity of Damage: If your headliner is severely sagging or has sustained damage from moisture, the repair process can become complicated and requires expertise. Professional services have the experience to assess the situation properly and ensure comprehensive repairs.
- Type of Material: Different vehicles utilize varying headliner materials, and handling them improperly can lead to more damage. Professionals are trained in working with specific materials, ensuring that repairs are made correctly without additional harm.
- Customizations: If your vehicle features a custom headliner or intricate design, DIY approaches may not suffice. Professionals can ensure that alterations are conducted accurately and tastefully.
Lack of Time or Tools
- Time Constraints: Repairing a headliner can be time-consuming. If you have a busy schedule, it might be more efficient to let a specialist handle the repair while you focus on other important tasks.
- Absence of Equipment: Some repairs might require specialized tools and materials that you don’t own. Investing in these for a one-time repair can be more costly than hiring a professional.
Seeking professional help not only saves time but often results in higher-quality work, ensuring that your vehicle’s interior looks as good as new. For more details on maintaining your vehicle, check out these common maintenance mistakes and learn about the importance of routine maintenance.
Benefits of Repairing Headliner
Repairing your vehicle’s headliner can offer numerous benefits that resonate deeply with auto and motorcycle owners, making it an essential task for maintaining your vehicle’s integrity and aesthetics. Here are some key advantages:
Increased Vehicle Value
A well-maintained headliner significantly enhances the overall appeal of your vehicle. According to Schmicko, repairing a sagging headliner can boost your car’s marketability and resale value. When it comes time to sell, an attractive interior can be a decisive factor that sets your vehicle apart.
Improved Aesthetics
Nothing says neglected quite like a sagging or stained headliner. An updated headliner revives your vehicle’s interior, contributing to an overall sense of cleanliness and comfort. A clean and visually pleasing environment not only makes driving more enjoyable but often boosts the owner’s pride and emotional connection with their vehicle.
Emotional Resonance
Repairing your headliner allows you to enjoy a more fulfilling driving experience. Maintaining a vehicle you care about can enhance your daily routine and provide a sense of satisfaction. As noted by various resources, including Popular Mechanics, a clean interior directly translates to a more pleasant driving experience, promoting positive feelings for both drivers and passengers.
Cost Comparison: DIY vs. Professional Headliner Repair
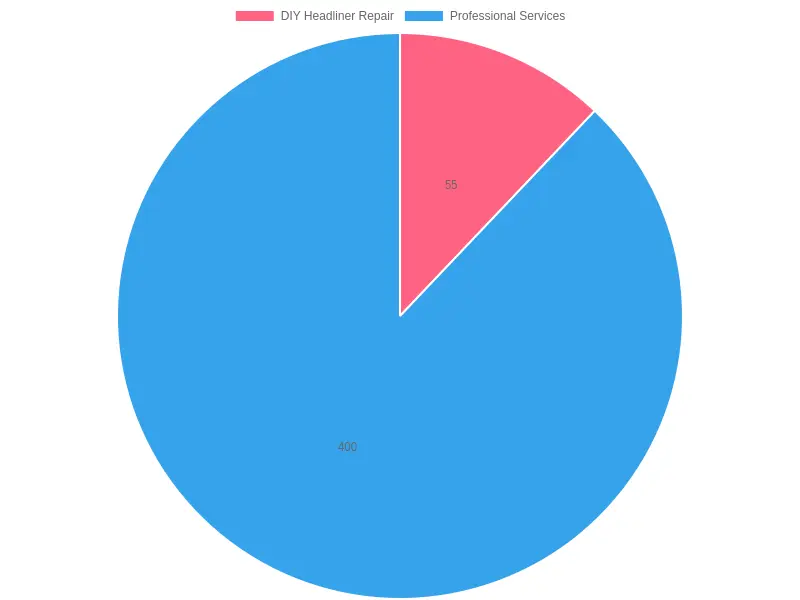
To help you make an informed decision, we present a comparison of costs for DIY headliner repair versus hiring professional services. Understanding these costs can assist in determining the best option for your needs.
Repair Method Costs
| Repair Method | Cost Range | Estimated Time |
|---|---|---|
| DIY Headliner Repair | $30 – $80 for materials | 2 – 4 hours |
| Professional Services | $200 – $800 | 1 – 3 hours (includes labor) |
As demonstrated in our chart below, DIY repairs can be significantly more affordable than professional services, but require more time and effort on your part.
Cost Comparison of Headliner Repair Methods
Sources:
- Headliner Repair Cost – What to Expect in 2026
- How to Fix a Sagging Headliner
- How Much Does It Cost to Repair a Headliner?
Whether you choose to go the DIY route or hire professionals, knowing these costs can help you budget effectively and prepare for the task ahead. If you’re curious about other DIY auto repair insights, you might want to check out DIY Auto Repair Basics.
Conclusion and Call to Action
Proper headliner maintenance is crucial for ensuring both the aesthetics and comfort of your vehicle. As we’ve discussed, the headliner plays a significant role in insulation and noise reduction, contributing to a more pleasant driving experience. Regular cleaning and timely repairs can prevent sagging and discoloration, keeping your car looking fresh and well-maintained.
It’s essential to understand the value of professional services when it comes to headliner repairs. Not only do they provide a higher-quality finish, but they also extend the lifespan of your vehicle’s interior. Choosing a professional repair can save you from the cost of frequent replacements and ensure a seamless and attractive outcome.
If you’re seeking reliable headliner repair services, look no further than Summit Fairings. Their expert team is committed to restoring your vehicle’s interior to its former glory. Don’t wait any longer; explore their services today and drive with confidence!