
Introduction
Deep scratches in auto paint are more than just unsightly blemishes; they represent a significant risk to your vehicle’s overall health and aesthetic appeal. Both motorcycle and auto owners know how important it is to maintain the appearance of their vehicles, but managing deep scratches can feel overwhelming. When left unaddressed, these scratches can expose the underlying metal, leading to rust and costly repairs down the line. Timely repair not only preserves your vehicle’s value but also protects it from the elements. Moreover, fixing these scratches can be a rewarding DIY project, saving you money while enhancing your skills. In this guide, we will walk you through the best methods for repairing deep scratches in auto paint, ensuring your ride looks its best for years to come. Learn more about common auto maintenance mistakes as you embark on this car care journey!
Tools and Materials Needed for Scratch Repair
Repairing scratches on your vehicle can restore its appearance and protect its value. Below is a comprehensive list of tools and materials you’ll need for effective scratch repair, suitable for both auto and motorcycle owners.
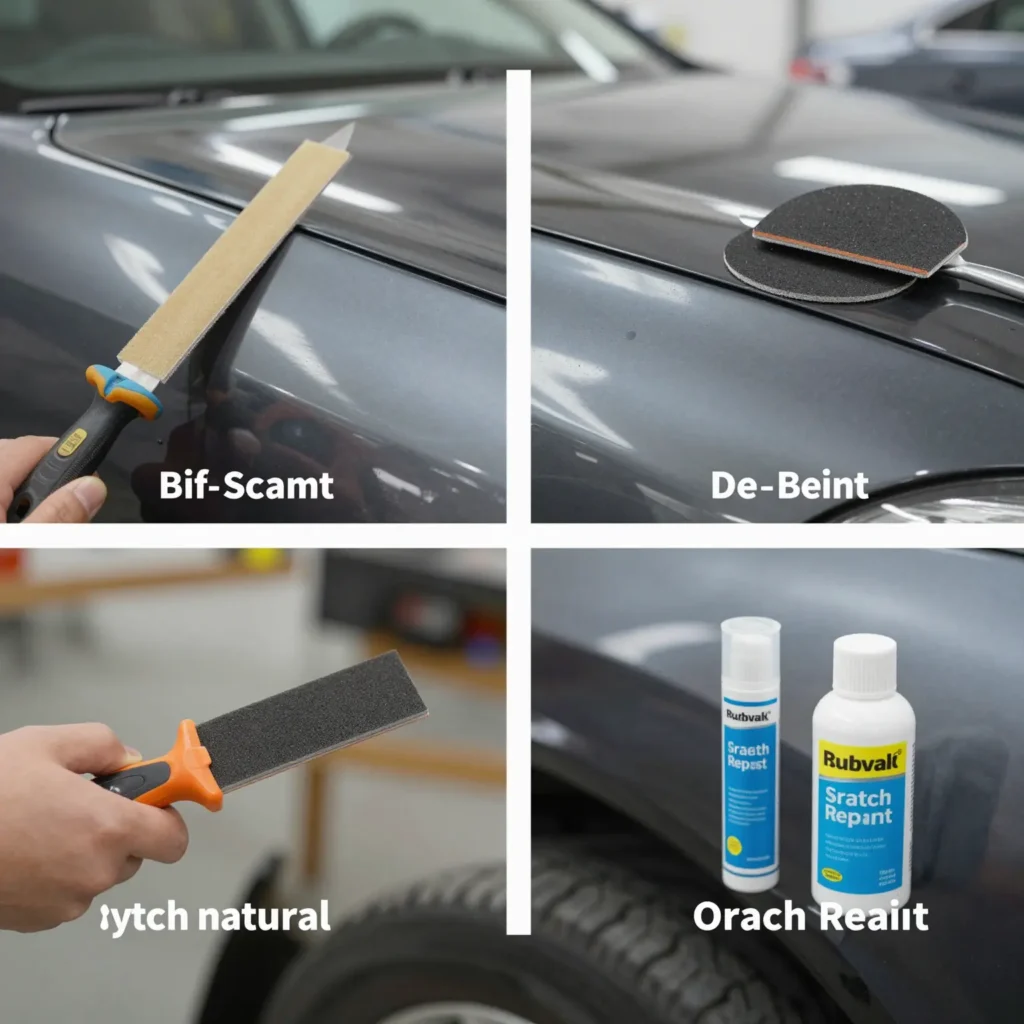
1. Sandpaper
- Grit Sizes: Start with a rough grit (around 400-600) to remove any rough edges around the scratch, then use finer grits (1500-2000) for smoothing the area before painting.
2. Scratch Repair Kits
- Many kits are available that include:
- Scratch Remover Paste
- Polishing Wax
- Gloss Restorer
- Example: Car Paint Scratch Repair Kit includes these essential materials.
3. Paint
- Obtain touch-up paint that matches your vehicle’s color code.
- Spray paint can also be used for larger scratches, and it should be automotive-grade.
4. Clear Coat
- A protective clear coat is essential for sealing the repair and ensuring it matches the original finish.
- Look for products like Car Scratch Remover Wax for added ease of use.
5. Applicators and Tools
- Soft Cloths or Microfiber Towels: For polishing and buffing out repaired areas.
- Spray Bottles: For applying water or cleaning solutions.
- Masking Tape: To protect areas surrounding the scratch while you work.
- Body Filler: For deeper scratches or dents that require filling.
6. Buffing Tools
- Use a foam or microfiber buffing pad attached to a dual-action polisher to blend the repaired area with the surrounding paint after applying the clear coat.
7. Protective Gear
- Safety Goggles: To protect your eyes from dust and particles.
- Face Mask: To avoid inhaling paint fumes and dust.
By gathering these tools and materials, you can efficiently tackle scratch repairs on your vehicle. For more DIY tips and tricks, check out our guide on DIY auto repairs.
Step-by-Step Process for Repairing Deep Scratches in Auto Paint
Repairing deep scratches in auto paint might seem like a daunting task for DIY enthusiasts, but with the right procedures and materials, you can achieve professional-looking results. Here’s a step-by-step guide on how to effectively repair those pesky scratches and restore your vehicle’s finish.
Materials Needed
- Clean microfiber cloths
- Automotive soap
- Touch-up paint
- Clear coat
- Sandpaper (various grits: 600, 1200, and 2000)
- Polishing compound
- Rubbing alcohol or wax and grease remover
- Safety goggles and mask
Step 1: Prepare the Area
- Wash the Vehicle: Start by washing the area around the scratch with automotive soap and water to remove dirt and debris. Rinse well and dry with a microfiber cloth.
- Assess the Damage: Check the depth of the scratch. If you can feel it with your fingernail, it’s considered a deep scratch.
Step 2: Sand the Scratch
- Sand the Area: Using 600-grit sandpaper, carefully sand the scratched area to remove any rough edges. Be gentle and avoid sanding too much around the scratch to prevent further damage.
- Clean the Area: Wipe the sanded area clean with rubbing alcohol or a wax and grease remover to ensure no dust particles remain.
Step 3: Apply Touch-Up Paint
- Mix and Apply: Shake the touch-up paint well. Use an applicator or a fine brush to apply the paint into the scratch. Build up layers gradually, allowing each layer to dry before adding the next. Aim for a smooth, even coat.
- Allow Drying: Check the instructions on your touch-up paint for drying times.
Step 4: Clear Coat Application
- Apply Clear Coat: Once the touch-up paint is fully dry, apply a clear coat over the repaired area using a spray can or brush, depending on the product. This will protect the touch-up paint and blend it with the rest of the car’s surface.
- Dry Time: Let the clear coat dry as per the manufacturer’s instructions.
Step 5: Buff and Polish
- Buff the Area: After the clear coat has dried, use 1200-grit sandpaper to lightly buff the area, followed by 2000-grit sandpaper for a finer finish. Be cautious not to sand too much.
- Polishing: Use a polishing compound with a clean microfiber cloth to buff the area until it shines, blending it with the surrounding paint.
Safety Tips
- Wear Protective Gear: Always wear safety goggles and a mask to protect against dust and fumes.
- Work in a Well-Ventilated Area: Ensure good air circulation to avoid inhaling fumes from paint and clear coat.
- Stay Organized: Keep all your tools and materials organized to prevent accidents during your repair process.
Conclusion
Repairing deep scratches in auto paint doesn’t have to be a chore. By following these steps diligently, you can restore your vehicle’s beauty while enjoying the satisfaction of DIY. For more automotive tips and tricks, be sure to check out our blog on common auto maintenance mistakes and learn about DIY oil changes.
Comparing Paint Repair Methods for Scratches
When faced with deep scratches on your auto paint, choosing the right repair method is crucial. There are generally two options: DIY (Do It Yourself) and Professional Services. Each method has its pros and cons.
DIY Repair
- Pros:
- Cost-effective: You save on labor costs.
- Convenient: Can be done at your own pace.
- Control: You control the steps in the process.
- Cons:
- Risk of improper application, leading to a subpar finish.
- May not restore the original look of the vehicle.
- Requires time and some skill to execute properly.
Professional Repair
- Pros:
- High-quality finish using expert techniques.
- Enhances the vehicle’s aesthetic and potentially its resale value.
- Professionals know how to handle deeper damage properly.
- Cons:
- More expensive than DIY options.
- Requires scheduling and time away from your vehicle.
- Less control over the repair process.
Summary Table
| Paint Repair Method | Pros | Cons |
|---|---|---|
| DIY Repair | – Cost-effective | – Risk of improper application |
| – Convenient | – May not restore original finish | |
| – Control over process | – Requires time and skills | |
| Professional Repair | – High-quality finish | – More expensive |
| – Expert techniques | – Requires scheduling | |
| – Added vehicle value | – Less control over the process |
For more insights on auto maintenance, check out how to repair auto paint scratches and DIY auto repair basics.
Expert Recommendations for Repairing Deep Scratches in Auto Paint
When it comes to repairing deep scratches in auto paint, experts offer several practical tips to achieve the best results:
-
Assess the Scratch Depth: Before you start, determine how deep the scratch is to decide on the appropriate repair method. Some scratches may require professional attention while others can be tackled at home.
-
Clean the Area: Always begin by thoroughly cleaning the scratched area to remove dirt and debris. This prevents further damage during the repair process.
-
Use Touch-Up Paint: Match the paint to your vehicle’s color code using touch-up paint pens or bottles. Experts recommend applying this paint in thin layers and allowing it to dry completely.
-
Polishing: After the paint repair, consider using a polishing compound to blend the repair into the surrounding paint, restoring the surface’s shine.
For more detailed techniques, check out resources like DIY Tips and Tricks and The Ultimate Guide to Eliminating Deep Car Scratches.
Tips for Maintaining Paint After Repairs
Maintaining your vehicle’s exterior after scratch repair is crucial for preserving its appearance and longevity. Here are some tailored tips for both auto and motorcycle owners:
1. Patience is Key
After a scratch repair, it’s important to give the paint sufficient time to cure and settle. Follow the advice of your repair shop regarding drying times, especially if they mention specific curing periods for clear coats. This will ensure the chemical bonds in the paint strengthen fully.
2. Gentle Washing Techniques
When it’s time to clean your vehicle, opt for a mild soap designed for automotive finishes. Avoid high-pressure washers, as they can damage the new paint. Instead, use a soft microfiber cloth to gently wash your vehicle, ensuring you don’t scrub too hard over the repaired areas.
3. Protection with Wax
Applying a high-quality wax or sealant can provide an extra layer of protection against the elements. This helps maintain the glossy finish of the paint and shields it from UV rays and contaminants. Waxes should ideally be applied a few weeks after repair to avoid interfering with the curing process.
4. Avoid Stingy Sun Exposure
Keep your vehicle out of direct sunlight whenever possible, especially in the initial weeks after a repair. Parking in the shade or using a car cover can help prevent fading and protect the paint.
5. Regular Inspections
Keep an eye on the repaired area. If you notice any signs of wear or new scratches, address them promptly to prevent further damage. Regular maintenance helps ensure the longevity of your car or motorcycle’s paint job.
For more on proper care techniques, check out our guide on how to repair auto paint scratches or routine maintenance mistakes to avoid.

User Testimonials on Motorcycle Scratch Repair
The experience of repairing scratches on motorcycles is common among riders, and it’s always encouraging to hear how others have handled it. Here are a few testimonials from motorcycle owners who successfully managed to repair scratches on their vehicles:
-
Jordan M., a sportbike enthusiast from Denver, shared, “I was devastated when I found deep scratches on my fairing after a recent ride. After doing some research and following step-by-step instructions from Gone Outdoors, I used a spray repair kit and buffed it out. The results were fantastic! It looks like new again, and I couldn’t be happier.”
-
Sarah L., a cruiser owner and member of the RiderForums community, recalls, “I had some scratches from falling rocks while riding. I joined a discussion on RiderForums.com and found great tips on products to use. With a bit of elbow grease, I managed to repair the damage myself. It saved me a lot of money, and I feel accomplished!”
-
Mike T., who rides a classic motorcycle, reported, “I tried a DIY scratch repair kit after watching a video on YouTube about using a 3M restoration kit. To my surprise, the process was quite easy and my motorcycle windshield looks as good as new. I recommend this to everyone facing similar issues!”
These experiences highlight not just the effectiveness of various repair methods, but also the satisfaction that comes from taking on the task personally. If you’re new to this or considering a DIY repair, a detailed guide like this one can be a great starting point.
Successfully repairing scratches can bring your motorcycle back to life and provide a sense of pride in your vehicle. Don’t hesitate to share your journey; you might inspire someone else to take on the challenge!
In conclusion, repairing deep scratches in your auto paint is not just about aesthetics; it’s essential to protect your vehicle’s integrity and maintain its value. Neglecting these repairs can lead to further damage to the underlying metal, which can be costly in the long run. By taking the time to care for your vehicle’s finish, you ensure it remains a source of pride and enjoyment.
We hope this guide has provided you with valuable insights and actionable steps for tackling those unsightly scratches. Remember, whether you’re a motorcycle owner or an auto enthusiast, know that the right tools and proper tips can make a significant difference.
For more resources and to explore high-quality repair solutions, don’t forget to check out how to repair auto paint scratches and other services offered at Summit Fairings. We’re here to help you restore your vehicle to its former glory!
Recommended Products for Scratch Repair
Repairing deep scratches in auto paint can be a daunting task, but with the right products, it can be manageable and cost-effective. Below is a table listing some recommended products for scratch repair, including their uses and purchase links.
| Product Name | Uses | Purchase Link |
|---|---|---|
| Meguiar’s ScratchX | Ideal for minor scratches; helps polish & restore paint shine. | Buy here |
| 3M Perfect-It Rubbing Compound | Used for heavy scratches; works well for compounding and polishing. | Buy here |
| Griot’s Garage One-Step Sealant | Offers protection and easy application after scratch repairs. | Buy here |
| Turtle Wax Scratch Repair Kit | Comprehensive kit for touch-up; includes wax for finish. | Buy here |
| Essentials Paint Scratch Remover | Great for light to moderate scratches; easy application. | Buy here |
These products are effective for various types of scratches and are suitable for both DIY enthusiasts and professionals alike. For more detailed tips on repairing auto paint scratches, check out our guide on how to repair auto paint scratches.