Sun damage can make even the most beautiful vehicles appear dull and neglected. This guide addresses the various levels of sun damage that can affect auto paint, helping motorcycle and car owners assess the degree of fading, oxidation, or cracking. We will delve into effective DIY methods that can be performed at home, and also discuss when professional interventions are necessary. Additionally, the guide will explore painting options for severely damaged surfaces, ensuring a comprehensive understanding of how to restore the beauty of your vehicle. Finally, we’ll highlight preventive measures to keep your auto paint looking vibrant and protected from harmful UV rays in the future.
Reading the Sunlit Truth: Assessing Sun-Damaged Auto Paint and Repair Paths
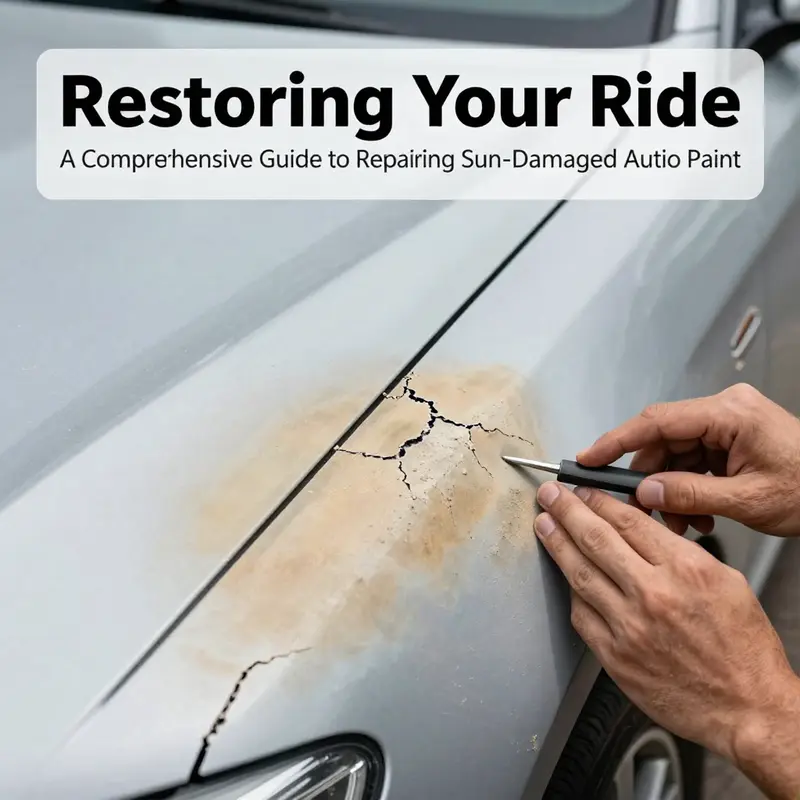
Sunlight ages car paint in ways that are visible on the surface and in the texture. Start with a clear daylight view of the finish, then move in close to feel the surface. If the finish feels rough or gritty, that texture usually signals oxidation within the clear coat. A smooth feel on a dull surface can indicate surface contamination or milky haze. Peeling or lifting of the clear coat is another critical sign, especially near edges and heat-prone panels. If you see flaking or detachment, the damage has progressed beyond cosmetic dullness and polishing alone will not restore adhesion. Based on the assessment, minor fading may be saved with gentle polishing and wax. Moderate fading or roughness may require more involved steps, including controlled polishing and a protective coating. Severe damage usually needs repainting to restore a factory-like finish. For a DIY path, start with surface preparation such as a clay bar, then a light polish and a quality wax. Be cautious not to remove too much clear coat, as the layer is thin. If deeper damage is present, consider professional paint correction and coating. For long-term protection, park in shade, use a breathable cover, and reapply protective coatings to slow future sun damage. For further guidance, a practical reference such as the How to Repair Auto Paint Scratches article can offer task-focused steps: https://motorworksautorepair.com/blog/how-to-repair-auto-paint-scratches/
Reclaiming the Glow: A Cohesive DIY Path to Reversing Sun-Damaged Auto Paint
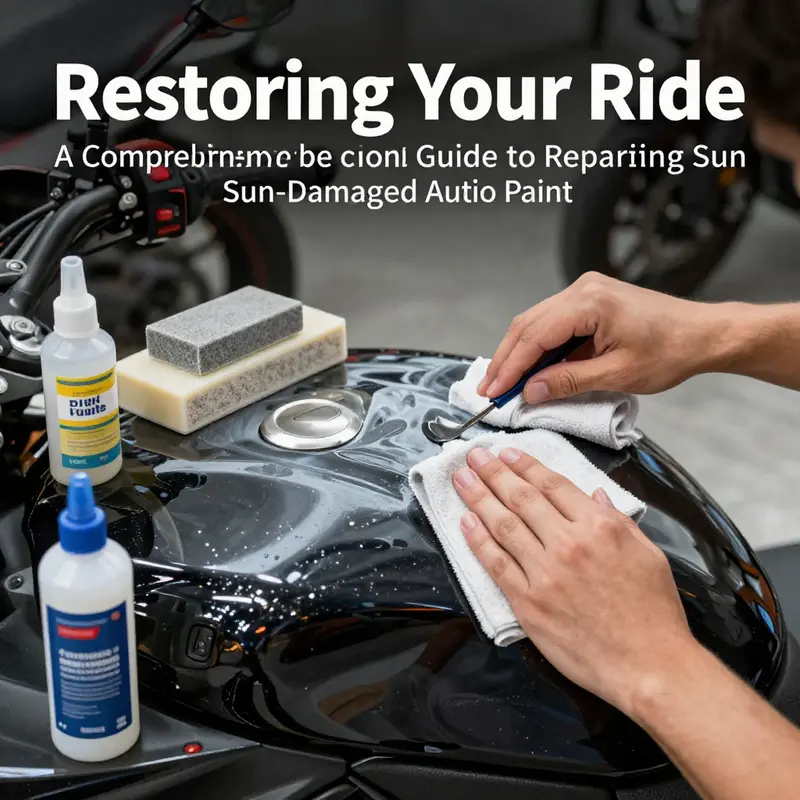
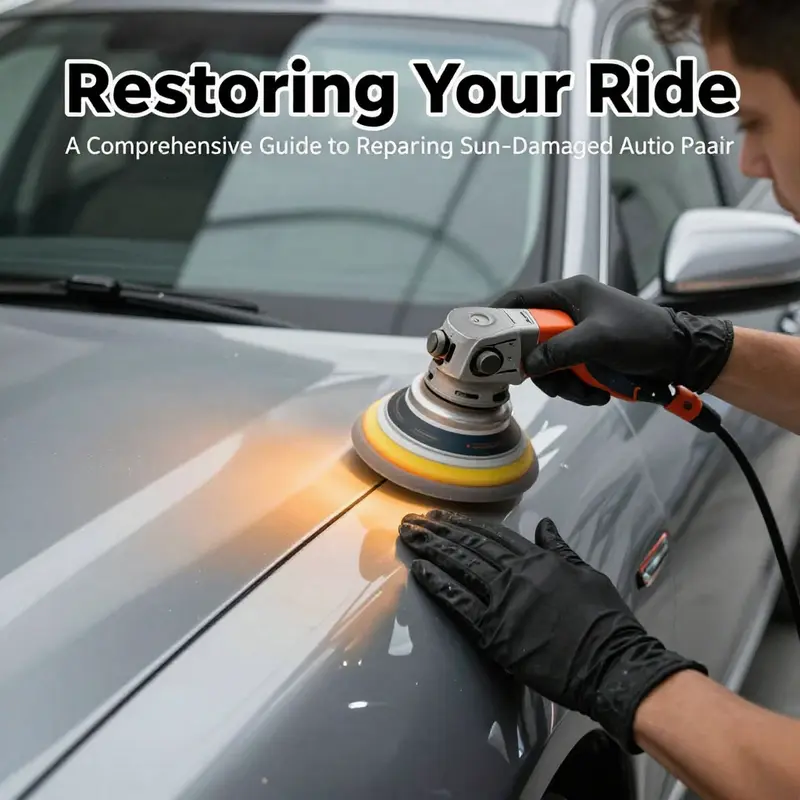
Sun damage is a patient adversary. UV radiation quietly erodes clarity, dulls the color, and leaves a chalky film that catches the light in unflattering ways. The repair path is less about a single miracle cure and more about a disciplined sequence: clean, correct, protect, then decide when a professional repaint is truly necessary. This chapter stitches together a practical, unified approach to sun-damaged paint so you can follow a reliable trail from the first wash to the final shine, without jumping between disjointed tips or products. The course of action you choose should reflect how far the damage has advanced, but even the mildest cases benefit from the same fundamentals: clean the surface to reveal the true depth beneath, address oxidation in a controlled, measured way, and finish with a protective layer that keeps the shine intact longer. If the lines between DIY endeavors and professional work feel blurred, that blend is intentional; small scrapes and gentle fades are often well within reach of careful DIY, while deep cracking or peeling will demand an experienced hand. The key is to start with a clean slate and to progress with a clear understanding of what each step accomplishes. To set the stage, imagine your car’s paint as a thin, precious skin. The sun does not simply fade color; it thins the protective layers and roughens the surface, inviting dirt and contaminants to cling. Before you attempt any leveling or polishing, you must remove those contaminants so you are not grinding them back into the finish. A thorough clay bar treatment, used with a lubricating spray or soap, is the gentlest yet most effective method for this. The clay bar lifts embedded pollutants — like mineral deposits, industrial fallout, and tar — that ordinary washing leaves behind. A high-quality, pH-neutral wash is the next vital step; it cleans without stripping protective oils and creates a uniformly smooth surface for correction attempts. The aim is not just a smear of shine but a real, lasting improvement that holds up to the elements. The process is tactile and patient: work a small section at a time, feel for smoothness as you glide the clay, and rinse thoroughly before drying. As you progress, you should begin to see the paint regain some depth; the dull, chalky surface gives way to subtle reflections and a more saturated hue. When contaminants are gone, you are ready to address oxidation and fading more aggressively. For minor fading and oxidation, the DIY route shines most brightly. A machine polisher, particularly a dual-action model, offers a controlled path to restore clarity without the risk of orange peel or swirl marks that come with aggressive hand polishing. Start with a fine cutting compound and work in small, overlapping passes on each panel. The goal is not to remove a thick layer of clear coat but to remove that micro-thin oxidized skin that obscures the color beneath. You’ll often see a meaningful improvement after a few passes: the paint looks richer, the color more true, and reflections start to sharpen. It is crucial to follow the product’s instructions and to watch for any thinning indicators. Paint is surprisingly delicate; in areas with many sun kilometers already etched into the surface, over-polishing can thin the clear coat to a point where the base coat or primer become exposed. The caution is real: measure thickness and proceed conservatively. If you catch the glaze of the finish deteriorating or the color balance shifts, pause. Sometimes a final, lighter polish can refine the surface and remove micro-marring left by the correction. For those who prefer to avoid machine work, a high-quality scratch remover kit can offer a masking alternative. These products rely on polymers and resins to fill micro-scratches and mitigate the dull look. They do not remove oxidation; they smooth and temporarily improve the appearance. The application should be deliberate: rub in circular motions, buff away the excess, and allow the surface to reflect light more evenly. The limitation is clear: the effect diminishes with washing and time, and under intense UV exposure, the results fade. Still, for a quick between-till-treatments fix or a partial correction on smaller panels, a well-chosen kit can bridge the gap until you can do a more thorough correction. After any form of correction, protection becomes the anchor that holds the new shine in place. Waxing and sealing are not merely cosmetic; they establish a barrier against moisture and contaminants that drive new oxidation. A high-quality wax offers a traditional, sumptuous gloss and a degree of UV resistance, but its protection is time-limited, usually measured in weeks to a few months depending on climate and washing frequency. For longer-lasting defense, a paint sealant or a coating system provides a tougher shield. A sealant can extend protection for several months, while a ceramic-based coating, if applied correctly, can endure for a year or more and present a highly resistant, glossy surface that is easy to maintain. The difference in durability is not merely the length of time; it is the difficulty of removal and the ease with which the finish repels water and contaminants. In practice, many owners find a layered approach effective: correct the surface thoroughly, then apply a durable sealant or coating to lock in the correction and facilitate easier future cleaning. Front-end protection can also include a paint protection film on the most exposed areas. A well-installed film acts as a sacrificial shield, resisting UV rays, minor scratches, and environmental fallout. The front half is a common, pragmatic compromise when complete coverage is cost-prohibitive, and it buys a lot of time against new sun damage. However, proper installation matters; seams and edges must be precise to prevent wind-driven debris from lifting the film over time. If your aim is a long-term, elegant finish that resists future sun damage, the combination of corrected paint and a durable protective layer is your best bet. For those confronting more serious issues, there is no substitute for repainting a panel or larger area. Severe cracking, peeling, or color loss that cannot be cured with polishing and coatings requires fresh paint with careful color matching and a new clear coat. The preparation is exacting: the damaged area is cleaned and sanded to feather the edges, a primer is applied to ensure adhesion, and color is matched with computer-assisted techniques to achieve harmony with the rest of the vehicle. Several layers of paint and a final clear coat are applied, followed by careful polishing and blending to minimize any perceptible seam. The cost can vary widely depending on the size of the repair, but the central idea remains: the result must be a uniform finish that looks like it belongs on the car rather than a patch. While the DIY path is accessible for minor and some moderate sun damage, it is essential to recognize when professional intervention is warranted. If fading is uneven, the paint feels brittle, or you notice cracking that expands with time, a professional detailer or body shop can assess the structural integrity of the finish and pursue a repaint if needed. Preventive care is your best defense against future sun damage. Parking in shade or garage spaces whenever possible reduces cumulative UV exposure; using a breathable car cover during long-term parking minimizes environmental wear; and a regular schedule of protective coatings helps create a resilient surface. If you ever question whether the paint is too far along for DIY, a quick inspection by a professional can save money and frustration over the long run. For readers seeking a targeted DIY approach to restoring paint in tricky areas or to address fine scratches and micro-blemishes, there is a practical guide to repair auto paint scratches that complements the strategies outlined here. How to Repair Auto Paint Scratches
This integrated path—cleaning, correcting, and protecting—provides a practical framework for most sun-damaged finishes. Minor issues emerge quickly with careful clay, polishing, and a protective layer, while moderate damage benefits from more thorough correction and a lasting coating or film. Severe damage, when it has progressed to cracking or peeling, calls for repainting to restore the factory-like depth and color. The common thread is restraint and care: work slowly, monitor the paint’s thickness, and respect its limits. With patience, the sun’s legacy on the finish can be transformed from chalky and dull to vibrant and resilient, and maintenance then becomes the rhythm that keeps that glow alive. For deeper understanding and broader context, external guidance on sun-damaged paint offers additional perspectives and safety considerations. External resource: Autocar article on repairing sun-damaged car paint
From Fading to Flawless: Professional Techniques for Sun-Damaged Auto Paint Repair
Sun-drenched finishes demand a meticulous, layered approach. Professionals assess depth and extent of damage before any work begins, using measurements to distinguish subtle oxidation from deep color loss. A paint-depth gauge helps determine whether the clear coat is thick enough for polishing or if repainting is needed. A spectrophotometer or colorimeter guides color matching so the repaired panel disappears in the lineup of adjacent panels.
In mild cases, controlled wet sanding with fine grits removes the dulling layer while preserving underlying color. A dual-action polisher with a fine-cut compound follows to refine clarity and knock down texture, then a carnauba-based wax seals the work and adds UV protection.
For more severe sun damage, professional shops may apply protective film to the vulnerable area and perform more advanced correction with progressively finer compounds, ensuring minimal heat buildup. If color has faded unevenly or the clear coat is significantly worn, repainting the affected panel or the entire door may be the most reliable option, with careful color matching and a multi-layer base coat and clear coat.
Beyond corrective work, successful sun-damage repair includes durable protective coatings and routine maintenance. A ceramic coating offers long-lasting UV resistance and hydrophobic performance, while a sealant provides interim protection. Regular washing with proper techniques helps preserve gloss, and parking in shade reduces future exposure.
This approach: assessment, controlled material removal, precise color matching, careful layering, and protective finishing defines professional sun-damaged auto paint repair. It balances aesthetic restoration with durability, delivering a seamless blend with the surrounding finish.
From Severe Sun-Worn to Seamless Finish: The Repainting Roadmap for Auto Paint
Severe sun damage changes the game. When the clear coat and base layers have yellowed, cracked, or peeled beyond the reach of polishing and protection, repainting becomes not just an option but the most reliable route back to a factory-like look. This chapter walks through the repainting path with care, emphasizing that for extensive fading and surface breakdown, a properly executed respray restores both appearance and long-term protection. It also situates repainting within the broader strategy of sun-damage repair, where the goal is to blend durability with a finish that withstands future UV exposure rather than merely masking the symptoms.
The decision to repaint is rarely about quick fix nostalgia. It rests on sound preparation and accurate color matching, followed by a controlled spraying process in a proper environment. The preparation stage is foundational. The damaged area is first cleaned to remove dirt, grease, and any residual contaminants that could hinder adhesion. Then comes a deliberate sanding phase, where the existing paint, clear coat, and any minor corrosion are reduced to a smooth, uniform surface. This step not only promotes adhesion but also ensures that the new paint bonds evenly across the transition zone with the surrounding panels. Primers may be applied to improve adhesion and create a uniform base for color and clear coat layers. The goal is a substrate that accepts the new paint consistently, eliminating texture differences that would betray a repair instead of a seamless maintenance of the vehicle’s original appearance.
Color matching is the next critical fulcrum. A professional technician uses specialized tools to reproduce the factory color with remarkable accuracy. This is not about a perfect pigment switch on a shelf; it is about a multi-layer recipe that accounts for the metallic or pearlescent pigments, the undercoat hue, and the final gloss. Computer-assisted color matching helps achieve a blend so the repaired panel reads as a single, uninterrupted surface once the car is viewed from any angle. It’s a precise art, because even a small mismatch can become the focal point of inspection on a sunny day. The process typically involves mixing a base color that harmonizes with the existing paint and then applying multiple layers to build depth and consistency before the clear coat is laid down.
The spraying phase occurs in a controlled environment—a dedicated spray booth or a similarly sealed space designed to minimize dust and humidity fluctuations. The operation unfolds in stages: first, the primer layer is applied and cured, creating a receptive surface for the new color. Next comes the base coat, delivered in light, even passes to build up the pigment uniformly. The technician will typically apply additional coats as needed to achieve full coverage and color depth, followed by a clear coat. The clear coat serves both as a hard, protective shield and as a sealing layer that imparts the glossy finish characteristic of a factory-like look. The curing conditions—proper temperature and humidity—are crucial. Rushing cure times or exposing fresh paint to environmental stress can lead to micro-mist, solvent pop, or other finish defects. The goal is a hard, durable film with consistent clarity across the repaired area.
Finishing is the stage where the repaired panel starts to disappear into the rest of the vehicle’s body. After curing, technicians polish the area to blend the new paint with the surrounding paintwork. The blend must be meticulous enough to erase the line where the old surface ends and the new surface begins. Depending on the extent of the repair, more than one polishing pass might be required to restore gloss and remove any minor imperfections introduced during sanding or spraying. The objective is not just a glossy surface but a surface whose optical characteristics align with the adjacent panels under varying light conditions. When done correctly, the repaired area reflects light in the same way as the rest of the car, and the paint appears continuous rather than stitched together.
It’s worth acknowledging that repainting, while effective, comes with considerations beyond aesthetics. First, the process is not typically a DIY task for severe damage. A proper repaint demands a clean environment, specialized equipment, and trained technicians. The color-matching accuracy, the uniformity of the applied coats, and the integrity of the curing process all factor into the overall outcome. A reputable shop uses trained personnel, calibrated spray booths, and standardized curing protocols to ensure the finish is durable and meets factory-like standards. Attempting to tackle a large repaint without these conditions can yield awkward color shifts, fish-eyes, or uneven gloss, undermining the very purpose of the repair.
While repainting is the most definitive solution for severe damage, it’s important to consider alternatives that may complement or partially delay a full respray. In some cases, a professional detailer will propose a combination approach: repairing minor underlying surface issues first, applying a coating system after repainting for long-term protection, and, where appropriate, using protective films on high-risk areas to shield the fresh finish from UV rays and environmental contaminants. The coating can provide an added layer of UV resistance and ease of maintenance, helping the new paint stay vibrant longer. However, coatings are not substitutes for repainting when the base paint has degraded beyond cosmetic repair. A solid, damaged foundation will still show through a coating if the color or clear layer beneath is compromised.
Cost is a practical consideration that shapes the decision. A small panel repaint, such as a door or fender, typically falls in the lower end of the spectrum, while larger sections or an entire side of the vehicle can elevate the price. In general terms, a small panel repaint may range from a few hundred dollars to around a thousand, depending on the shop, the complexity of the color, and the need for bodywork. A full panel repaint tends to be substantially more, often exceeding a thousand dollars, and a full-car repaint can reach into several thousands. These figures reflect the labor, materials, color matching, and the controlled environment required for a high-quality finish. When budgeting, it’s wise to consider the long-term protection that accompanies repainting. A well-applied clear coat, followed by a compatible coating or sealant, can extend the life of the finish and reduce future maintenance costs.
As you weigh repainting against other repair routes, think about the vehicle’s value, usage, and the importance of color integrity. If the paint has endured deep cracking, large areas of peeling, or substantial color degradation, repainting remains the most thorough means to restore the vehicle’s original aesthetic and protective layer. In such cases, the objective is not merely to restore color but to reestablish a durable, even surface that will hold up under sun exposure for years to come. The repainting decision should be grounded in a clear assessment of the damage, a realistic budget, and a trusted estimate from a body shop that emphasizes color accuracy and finish quality. It’s not about chasing a perfect factory look in every instance, but about balancing authenticity, durability, and value while preserving the car’s long-term protection.
For readers who want to explore related maintenance topics in a DIY context, there are interim steps that can help preserve the new finish and slow additional deterioration. After repainting, applying a high-quality sealant or a ceramic coating can offer an enhanced shield against UV radiation and pollutants. Regular washing with gentle, non-abrasive products and avoiding harsh cleaning tools will also help maintain the integrity of the new paint. A practical habit is to park in shaded areas when possible and use a breathable car cover if parking outdoors for extended periods. These preventative measures, coupled with a thoughtful repainting approach, provide a robust defense against future sun damage and keep the vehicle looking refreshed for longer.
If you’re curious about related DIY color restoration techniques that don’t push you into a full repaint, you can explore a guide focused on surface-level repairs and color refinishing, such as how to repair auto paint scratches. It offers a complementary perspective on addressing minor imperfections without entering the repainting realm. See for yourself at how-to-repair-auto-paint-scratches.
In sum, repainting sever sun-damaged auto paint represents a strategic, durable solution when the damage surpasses cosmetic fixes. The process—from meticulous preparation to precise color matching, disciplined spraying, careful curing, and thoughtful finishing—seeks to restore a true factory-like appearance and lay a solid protective foundation for years of sun exposure to come. While it requires professional execution and a realistic budget, the resulting finish can transform a tired, sun-blasted surface into a seamless, glossy, and resilient coat that defies the very element that damaged it. And once the new paint is in place, a disciplined protection plan—protective coatings, proper maintenance, and prudent parking choices—helps sustain that hard-won finish so the investment endures through seasons of sun and road grime.
External resource: https://www.autocar.co.uk/feature/repairing-sun-damaged-paint
null
null
Final thoughts
Repairing sun-damaged auto paint is crucial not only for aesthetic appeal but also for maintaining your vehicle’s value. By assessing the damage accurately, employing effective DIY and professional techniques, and understanding repainting options, vehicle owners can restore their rides to showroom condition. Additionally, adopting preventive measures ensures that your paint stays vibrant and protected for years to come. With the right knowledge and action plan, you can reclaim your vehicle’s luster and enjoy a pristine appearance on the road.