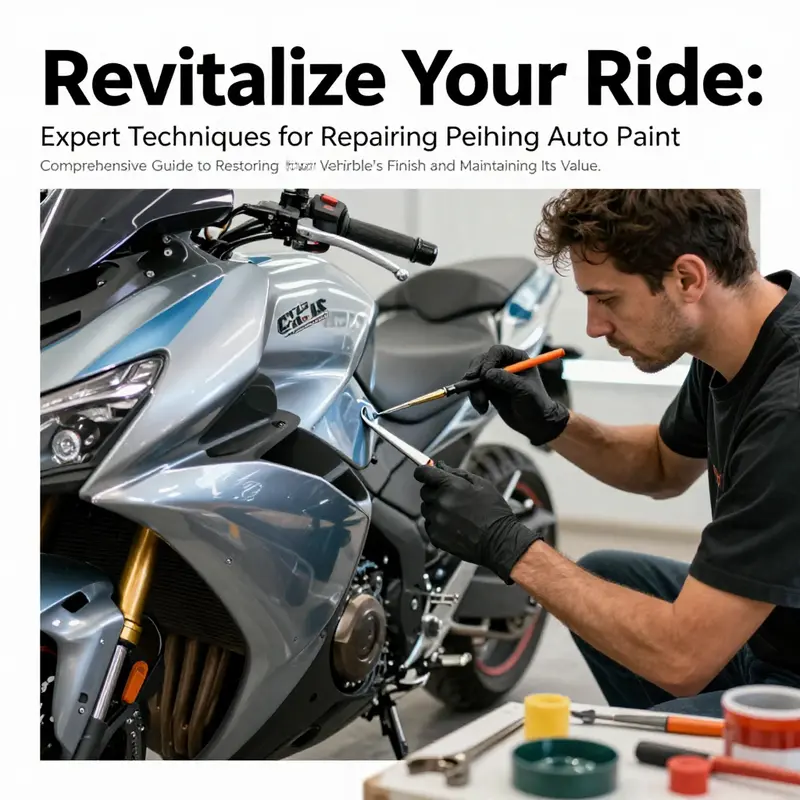
Peeling paint can be a frustrating issue for vehicle owners, diminishing both the aesthetic appeal and value of your ride. Whether you’re a motorcycle enthusiast, car owner, or an auto repair professional, addressing peeling paint effectively is essential. This guide walks you through proven techniques for tackling minor to severe paint peeling, ensuring your vehicle stays in top condition. Each chapter will address different scenarios, ranging from quick fixes for small damage to comprehensive strategies for severe peeling, alongside essential tools and maintenance tips to prevent future issues.
From Peel to Perfection: Techniques for Small-Area Auto Paint Repair

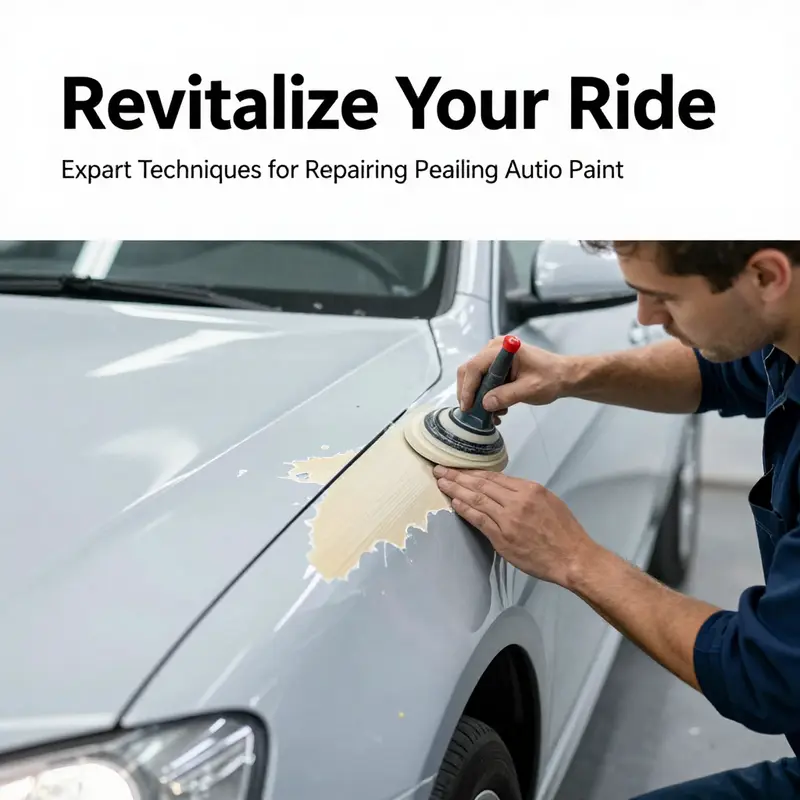
Peeling paint on a car is more than a cosmetic nuisance. It invites rust, it dulls the car’s value, and it can make an otherwise solid finish look neglected. Yet when the damage is confined to a small patch, you can restore the area with care and patience, avoiding a full respray. The goal is not factory perfection but a durable, seamless blend that keeps moisture out and gloss in. This chapter follows a practical, step-by-step path that respects the vehicle’s existing finish while giving small damaged areas a second life. The approach begins with a clear-eyed assessment of what you’re facing and then moves through cleaning, feathering, priming, painting, and finishing. Along the way, the emphasis is on feathered edges, thin coats, and controlled technique—keys to a repair that holds up under sun, rain, and the car wash, without drawing unwanted attention to the repair itself. If you want a quick reference to minor scratches before you tackle peeling, you’ll find a companion guide linked here for deeper discussion on repairing automotive paint scratches. How to Repair Auto Paint Scratches.
When peeling is truly minor—where the outer clear coat is damaged but the primer or metal beneath remains unexposed—the repair process stays relatively simple. Start with a meticulous cleaning to remove wax, grease, and dust. A car-specific cleaner is ideal because it’s formulated to break down highway grime without harming the finish. After washing, let the area dry completely. Even a small amount of residual moisture can affect adhesion, so take the time to ensure a dry surface before you begin feathering the edges. Feathering is not just cosmetic; it’s a bonding strategy. By slightly roughening the edges with fine-grit paper, you create a seamless transition between the old paint and the fresh layer. The recommended range for this step is typically fine grit, around 1500 to 2000, which is gentle enough to avoid creating new grooves while still promoting adhesion. If the underlying metal is exposed anywhere at the edge, treat it as exposed metal and apply a light coat of automotive primer to curb any rust formation. Allow the primer to cure per the product’s instructions before moving to color.
Color matching is the next critical hurdle. The color chip in your touch-up kit should match the factory shade as closely as possible, ideally from the same production batch. If you can, gather data from the dealer or the vehicle’s build sheet to confirm the exact color code. In many cases, using a high-quality touch-up pen or a small spray can will give you better control and a more even finish than a bulky can. Apply the paint in very thin coats, letting each coat dry before applying the next. Patience here pays off in a gloss that doesn’t look patchy or lumpy. A common pitfall is laying on too much paint at once, which can cause runs or a noticeable step where the new paint meets the old. A series of light coats is far more forgiving and yields a smoother gradient. After the final coat, give the paint ample time to cure. In normal conditions, a 24-hour window is a reasonable rule of thumb before any handling, washing, or further finishing steps.
Finishing is where the repair begins to disappear from view. Once curing is underway, you can assess the seam between the old and new paint. If you notice any micro-metallic lines or a slight gloss mismatch, a very light sanding with 2000-grit wet/dry paper can help smooth the boundary without removing color. This step should be done with a damp cloth to prevent clogging the paper and to keep dust from embedding in the surface. After blending, a careful polish restores the gloss and helps the new layer catch the light just like the original paint. A microfiber cloth is ideal here for its softness and ability to lift compounds without scratching. In most cases, a mild polishing compound is sufficient, followed by a dedicated wax that seals the surface and adds a protective layer against UV exposure and minor abrasions.
If the repair reveals primer or bare metal, the stakes rise slightly. Rust is the silent enemy here, and once it takes hold, the repair can fail prematurely. The prudent approach is to treat the exposed area as you would a larger repair. Clean thoroughly, remove any loose material, and apply a primer with good adhesion to create a stable base for the color coat. When you apply the color, use multiple thin layers rather than a single thick one. This technique reduces the risk of runs, helps achieve color consistency, and allows you to manage the gloss level across the panel. After the final color coat, resist the urge to rush the curing process. In a typical environment, a full cure may extend into 48 to 72 hours before washing. During this period, keep the area out of direct rain and avoid car washes that could compromise the finish. Once fully cured, a final polishing step should bring the repaired area into alignment with the surrounding panels. A clear coat, if included in your kit, offers extra protection and depth of shine, but it should be applied only when the base color has already achieved a smooth, even film.
Beyond the mechanical steps, there is value in understanding the psychology of a successful paint repair. A small patch that looks freshly painted can still draw the eye if the gloss, texture, or color is off. The aim is not flawless invisibility but a convincing match that survives the first glance. Lighting plays a surprising role here: metallic or pearlescent finishes can appear mismatched under certain angles of sunlight. If you encounter this, small adjustments in the lighting during the refinishing stage can help you judge whether you’re achieving a true blend or simply chasing a momentary impression. It’s worth noting that environment matters. Dust, humidity, and air flow can all affect how well the paint adheres and how the final finish cures. Work in a clean, well-ventilated area, ideally indoors or under a covered workspace where dust is minimized. A dust-free environment reduces the risk of particles landing on a wet coat and creating pockmarks or rough patches that mar the final finish.
The role of patience cannot be overstated. Each layer you apply should be given time to dry and cure. Rushing a repair invites clarity issues in the finish—visible ridges, color misalignment, or an uneven gloss. In the detailed steps provided by the repair literature, curing times vary with the thickness of the coating and the ambient conditions. A commonly recommended practice is to allow 24 hours for initial cure, followed by a more thorough 48 to 72-hour cure before subjecting the area to washing or weather exposure. If you live in a dry climate, cure times may be shorter; a damp environment can slow the process. The weather is an ally or an adversary here, and planning around it is part of achieving a durable, long-lasting repair.
There is also a practical, almost improvised wisdom that often helps with considerately minor issues. For very light surface scratches that have not breached the clear coat, a household approach can offer a gentle improvement before you commit to a formal repair. A non-gel white toothpaste with mild abrasives can be used sparingly to smooth out micro-scratches without harming the finish. After rubbing gently in circles for a few minutes, wipe away residue and apply a quality wax to protect the area. This method is a temporary fix that can improve appearance and buy time before a proper repair if the scratch is merely superficial. If you do decide to pursue the small repair, the comprehensive process described above remains your best bet for long-term durability. A useful reminder in this context is the value of color matching; finding the exact shade from the same brand and production batch significantly reduces the risk of a visible mismatch. When in doubt, consult the dealer or reference the color code to ensure the most accurate match possible.
Prevention remains the simplest and most cost-effective strategy. Regular waxing—every three to six months—helps create a protective barrier against UV rays, road chemicals, and minor abrasions. A well-maintained wax finish reduces the likelihood of peeling and preserves the clarity of color. If you notice early signs of peeling or micro-damage, addressing them promptly can prevent larger problems later. The repair ecosystem thrives on early intervention; a small patch repaired correctly now is far more economical than a larger area losing adhesion later.
In sum, repairing peeling auto paint on small patches is a careful balance of cleaning, feathering, priming, coloring, and finishing. The job demands attention to detail and patience, but it remains within reach for many car owners who want to preserve appearance and value without enrolling in a full-body repaint. The most important decisions center on how to feather the transition between old and new paint, how many thin coats to apply for the best color match, and how long to allow curing before the final polish. Where deeper damage or rust is present, or where panel alignment has become an issue, professional help should be sought. A reputable auto body shop will perform the necessary surface preparation, color matching, and controlled spraying in a dedicated environment, ensuring a durable, high-gloss result. For readers seeking a broader understanding of the fundamental process and its nuances, the linked guide on repairing auto paint scratches offers a complementary perspective on color matching and finish preparation that can inform your approach to peeling repairs as well. How to Repair Auto Paint Scratches.
External context can enrich your understanding of automotive finishes. If you want a broader reference on how automotive paints behave and cure, consult the automotive paint overview in reputable encyclopedic resources. Automotive paints on Wikipedia.
From Patch to Perfection: A Cohesive Guide to Rebuilding Large-Area Peels in Auto Paint
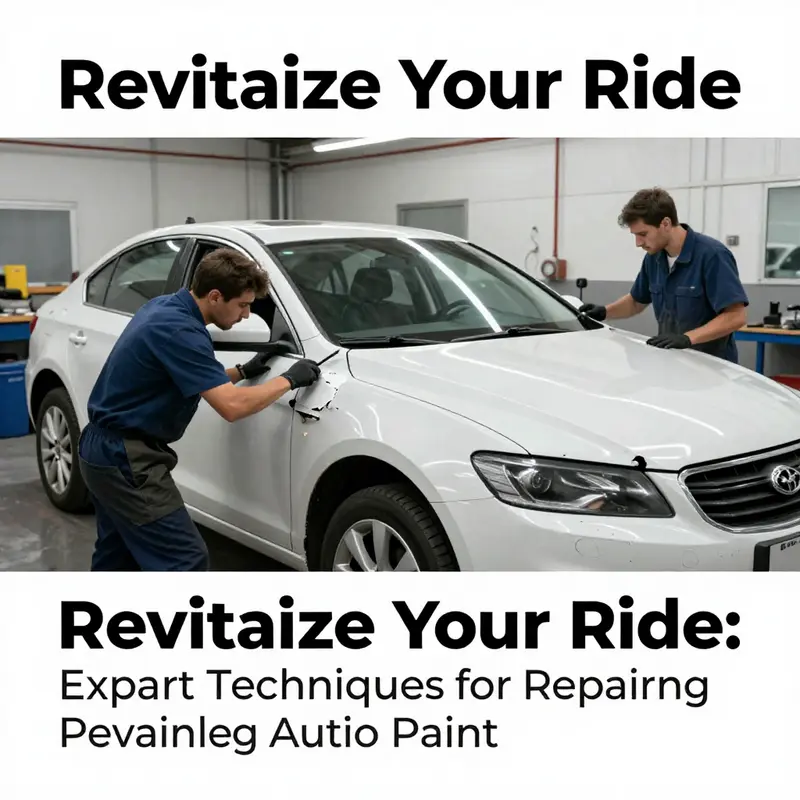
When a peeling issue covers a larger section of a panel, the repair demands more than a cosmetic touch-up. It becomes a process of rebuilding the surface so the new finish matches the old in color, texture, and durability. This requires careful planning, thorough preparation, and a method that prioritizes adhesion and a feathered transition rather than abrupt edges. The goal is a seamless, factory-like appearance that can withstand washing, weather, and the sun without drawing attention to the repair. Start with a calm, methodical mindset, because the steps that follow are meant to create a durable base for the color coat and a clear, enduring seal that honors the vehicle’s original finish. To begin, clean is king. Wash the entire area with a mild car wash solution and water, then rinse thoroughly. It is essential to remove all wax, grease, and dust; any residue can sabotage adhesion later on. Dry the surface completely before you touch the damaged zone. Only a dry, clean canvas will allow the subsequent steps to lay down a uniform, well-anchored layer. As you inspect, you will likely see edges where the old paint remains, with loose flakes bordering exposed, unprotected metal. These edges must be treated with care. Gently remove loose material with a plastic scraper or a fine metal tool, but avoid gouging the metal underneath. The objective at this stage is not to erase the damage but to reveal a stable, clean plane for the feathered edge that will host the new paint. Feathering is the next critical move. Using progressively finer grit sandpaper—start around 800 to 1000 grit—the goal is to soften the boundary between the damaged and undamaged areas. Work in small, controlled motions so you leave a gradual transition rather than a hard line. This feathering creates a surface where the new paint can blend with the existing finish rather than pile on abruptly. As you refine the surface, you may find shallow dents or depressions where metal has fatigued beneath the peeling layer. In these cases, use a body filler or two-part epoxy putty to level the surface. Apply it in thin layers, then let it cure fully according to the product’s instructions. Once cured, sand the repaired spots with fine grit—around 1500 grit—to bring the surface flush with the surrounding paint. The aim is a smooth, flat field that accepts primer uniformly. With the surface leveled, it is time to prime. Primer serves as the bridge between raw metal or repaired substrates and the final color layers. A high-quality automotive primer provides the base necessary for strong adhesion and rust prevention. Apply a light, even coat and allow it to dry completely before proceeding. If you exposed metal during the preparation, a rust-inhibiting primer is particularly important. The next stage is the base coat, the actual color layer. Color accuracy becomes the most critical factor when large areas are involved. The factory color must be recreated with precision. You can achieve this by taking the vehicle’s VIN to a supplier who can mix color to match the exact factory shade. In many cases, a spray gun—whether airless or air-assisted—offers the best control for a large panel. Hold the gun at a consistent distance, typically about 6 to 8 inches, and move it steadily in overlapping passes. Apply multiple thin coats rather than one heavy layer. Thin coats reduce runs and sag, and they provide opportunities to adjust color depth with each pass. Allow each coat to flash off briefly before applying the next, so you preserve a smooth, even texture. If you have access to a test panel, it can save you a lot of guesswork by letting you verify color depth and gloss before the final application on the car. Once the color has reached the desired depth and uniformity, let the paint dry thoroughly. In many cases, the color base needs about 24 hours to cure enough to tolerate a clear coat. The sequence then moves to sealing the finish with a clear coat. Clear coats lock in color, add depth, and provide UV protection that prevents future fading. Like the base coat, apply the clear in several thin layers, allowing each coat to dry before the next. A smooth, even application is essential, especially over a large patch, to avoid texture mismatches or an orange-peel effect. After the clear has cured, you can perform a light, final refinement. A very fine sanding step with 2000 grit sandpaper, followed by a cautious polish, can smooth out any micro-marring and bring the gloss into line with the surrounding panels. This stage is delicate; aggressive sanding can remove the clear and mar the repair, so it must be done with care and patience. The polish should be a gentle compound and a clean microfiber, applied with a soft touch. The aim is not to erase the repair but to harmonize its reflection with the adjacent paint so that the repaired area reads as a single surface rather than a patchwork. Throughout this process, color matching remains the most challenging element. Strive to source the same brand and model number as your original paint, ideally from the same production batch when possible. Color drift, even with careful mixing, can be visible in large areas because the light catches textures differently across the panel. For this reason, many technicians recommend performing the repair in a clean, dust-free environment and retreating to a controlled space for the final clear coat if possible. If the repair extends into a panel edge or a door seam, you may need to address blend lines with additional sanding and wet-edge blending. This technique helps avoid abrupt changes where two planes meet. For large repairs, the process often benefits from a paint booth or a well-ventilated space with stable temperature and humidity. Dust containment and controlled airflow prevent contamination that could ruin adhesion and gloss. It is also wise to observe the recommended curing times precisely. Do not wash the area or expose it to rain before the full cure, which can take several days depending on the products used and the environmental conditions. The final result should feel integrated, with no obvious transition between old and new paint. There should be an even gloss and depth across the panel, with no visible telltale signs of a repair. As you refine the finish, consider a light wax or sealant after full curing to protect the surface from UV exposure and minor scratches. Regular maintenance—such as waxing every 3 to 6 months—helps preserve the newly repaired area and reduces the risk of future peeling. If you encounter dents or structural issues in the panel during the repair, or if color matching proves unachievable in a DIY setting, it is prudent to seek professional assistance. A trained shop can perform panel repair or replacement, ensure precise color matching with factory-instrumented tools, and conduct the final spray sequence in a controlled environment with a dedicated clear coat system. The goal is longevity, safety, and a finish that looks as enduring as the rest of the car. For readers who want a practical reference on related touch-up techniques, you can explore further how to repair auto paint scratches as a complementary guide to this larger-area approach. See how to repair auto paint scratches for related techniques and tips that translate well when addressing broad patches. Finally, the decision to tackle a large peel at home rests on your comfort with the process and the complexity of the damage. If the damage covers substantial areas, involves multiple panels, or reveals bare metal in multiple places, professional re-finishing remains the most reliable path to a durable, aesthetically consistent result. External factors such as temperature, humidity, and dust can influence outcomes just as much as material quality. By treating the repair as a system, not a single step, you increase your odds of a near-perfect match across the entire panel and a finish that endures through seasons and miles. For a broader technical understanding of automotive paints, materials, and finishes, consult reliable external resources such as automotive painting references and standard finishes. External resource: https://en.wikipedia.org/wiki/Automotive_paint
null
null
From Peel to Perfection: Mastering Tools, Techniques, and Timing in Auto Paint Repair
Peeling auto paint is more than a cosmetic nuisance; it signals a breakdown in the protective film that keeps metal safe from the elements. A thoughtful repair blends science with patience, because the surface you see is the result of many layers and a timeline of exposure. The goal is not only to cover the defect but to recreate a seamless, durable finish that matches the surrounding panels in color, texture, and gloss. Achieving that outcome starts with careful assessment, then a deliberate sequence of steps that emphasizes preparation, proper materials, and controlled application. When you approach peeling paint as a cohesive process rather than a series of isolated tasks, you reduce the risk of rust, uneven color, or a repair that looks obvious from across the street. The guidance that follows is designed to be practical for a wide range of peeling scenarios and to help you decide when a home fix makes sense and when it is wiser to call in professional help.
First comes assessment. Before you touch anything, inspect the damaged area and its surroundings. Is the underlying metal exposed, or is there still a layer of old primer protecting the surface? Even small spots can harbor rust if you leave bare metal unprotected. A clean, dry surface provides the best adhesion for any filler, primer, or paint that follows. If you notice rust specks, they must be treated or removed; otherwise, they will escalate under the new coating. With the area clean, the next step is to restore a smooth base that will accept new material as if the peel never happened. The strategy varies with the extent of peeling, so it helps to think in tiers: small, local peeling; larger contiguous patches; and cases where the surface has deeper damage or structural issues.
For small, light peeling, the repair can often be performed with careful surface work and precise touch-up rather than a full panel repaint. Start by cleaning the damaged area with a car-specific cleaner or a mild soap solution to remove dirt, grease, and old wax residue. Rinse well and dry completely. The objective is a clean slate so the new material adheres properly. Once dry, use fine-grit sandpaper, around 1500 to 2000 grit, to gently abrade the edges of the peeling paint. The intent is not to remove the entire surrounding finish but to create a feathered transition where the new paint can blend into the old. If you encounter any exposed metal or visible primer, apply a small amount of automotive primer to protect against rust. Let the primer cure according to the product instructions, then lightly sand the area again to remove any ridges and to ensure a smooth, uniform surface.
With the surface prepared, the core repair comes into play: applying matching auto paint. The color match is paramount. If you can access a spray can or aerosol that matches your exact factory color, apply thin, even coats. If the repair area is small enough, a high-quality touch-up pen may do the job, but a spray provides more control and a more uniform appearance for slightly larger patches. Each coat should dry fully before the next is applied. A light hand with spray technique yields less texture and fewer solvent-induced gloss differences. Although a DIY approach can work for minor repairs, a dust-free, controlled environment yields the best results. In a pinch, a well-ventilated indoor space, shielded from wind and dust, can substitute for a professional spray booth, but the goal remains the same: minimize dust and run lines while promoting even drying and cure.
As the color layers accumulate, patience grows in importance. The repair area needs to cure before any washing or exposure to rain. In many cases, a full color cure can take 24 hours, but more demanding paints and finishes may need longer. Once color is fully cured, a polishing step helps blend the repaired patch with the surrounding finish. A polishing compound, applied with a clean microfiber cloth, can reduce any slight color differential and restore a more uniform gloss across the repaired zone. The emphasis is on a gradual, feathered polish rather than aggressive rubbing, which could erase subtle refinements or remove the new paint entirely. When the surface is uniformly smooth and the gloss aligns with adjacent areas, you can move to the final protective stage. Waxing after polishing adds a sacrificial layer that shields the repair and surrounding finish from UV rays and chemical exposure, extending the life of the fix and keeping the newly blended area vibrant.
If your peeling covers a larger area or if the damaged surface feels uneven to the touch, the procedure scales up. Begin with a thorough cleaning of the entire affected area and its margins to remove any wax, oils, or cleaning residues that might impair adhesion. For more extensive repairs, sand the surface with progressively finer grits, starting with a coarse 800 grit to remove loose paint and flatten the surface, then moving through 1200, 1500, and finally 2000 grit to achieve a smooth, flat plane. The aim is to create a uniform canvas that reflects light evenly, not to carve out deep hollows. After removing the loose material, apply a primer layer as a base. The primer serves several crucial purposes: it improves adhesion, provides a uniform base color, and protects exposed metal from corrosion. Allow the primer to cure, then lightly sand to achieve a flawless, even surface.
With the base prepared, spray or apply the matching color in multiple thin coats. The technique is to build color gradually, not to lay down a thick, single pass. Maintain a consistent distance and a steady hand to avoid heavy deposits, which could lead to runs or sags. If you are working with a spray gun, you can achieve a smoother, more professional finish, especially over larger patches. A dedicated spray booth remains the gold standard for controlling dust and temperature, but a clean, dust-free space with doors or vents open for ventilation can suffice if a booth is unavailable. Do not rush the curing process. Allow each coat to dry thoroughly according to the product guidelines. After the final color coat has cured, apply a clear coat to seal and protect the new paint. The clear coat adds depth and gloss while providing a durable shield against UV rays, moisture, and minor abrasions.
In the realm of color and finish, one principle stands above the rest: color matching is critical. The difficulty lies not just in obtaining the exact shade but in ensuring the tint, shade, and gloss align with the original surface. If possible, source the color code from the vehicle’s manufacturer or dealer, ideally from the same production batch. Even small variances in batch color can become noticeable when the repaired area catches light at certain angles. For larger repairs, color matching often requires professional assistance or specialized equipment that can measure and replicate the factory shade precisely. The lesson here is clear: the closer you can get to the factory color, the less conspicuous the repair will be. A mismatch that is obvious in daylight will be even more people’s attention in the sun or under streetlights, so plan accordingly.
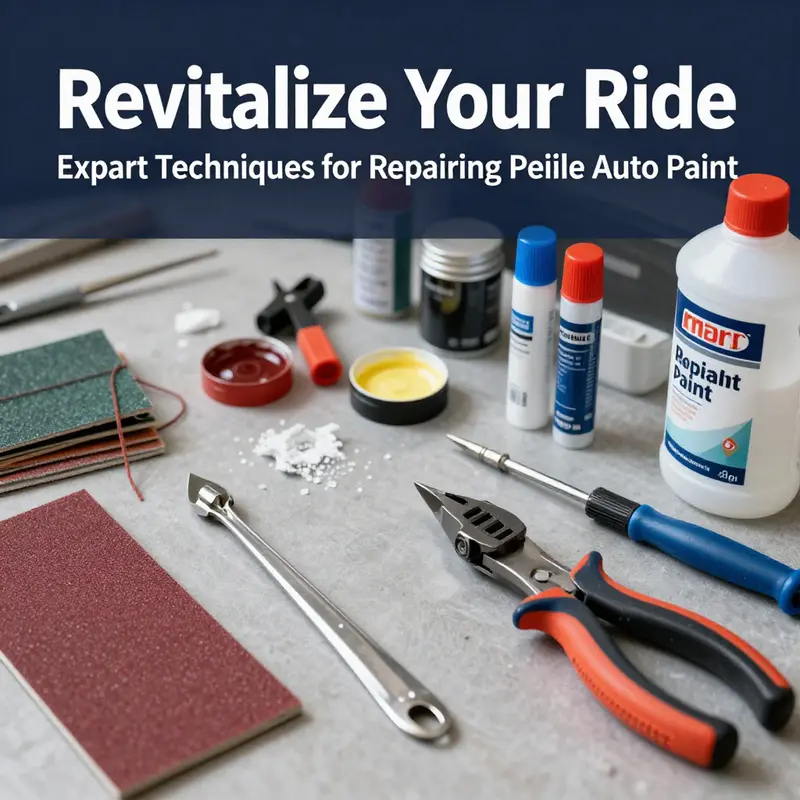
A clean environment is another thread that runs through every stage. Dust and particles sticking to a wet or tacky surface instantly ruin adhesion and finish. If you must work outdoors, choose a calm, windless day with low humidity, or move indoors to a controlled space. Masking tape and paper play supporting roles, protecting edges and adjacent panels from over-spray while keeping the repair zone contained. Microfiber cloths, clean and free of lint, help in the final wipe-downs and polish stages. The more you invest in preparation, the more forgiving the result becomes when you remove the masking and inspect the repair under different lighting.
Finally, plan for the future. A peeling problem often arises from UV exposure, chemicals, or abrasive washing practices. Regular waxing every three to six months creates a protective barrier that helps maintain the finish and reduces the likelihood of future peeling. It also makes minor repairs easier by keeping the paint film intact and resilient. If the damage extends beyond superficial coatings or if the surface shows signs of bubbling, cracking, or significant dullness, the repair may indicate broader issues. In such cases, or when the panel has dents or warping, professional repair is essential. A shop can offer a full assessment, panel alignment and replacement if needed, color matching with factory-grade equipment, and controlled spraying in a paint booth, followed by a durable clear coat.
For readers exploring related maintenance topics, a practical comparison can be found in a companion guide on repair strategies for paint scratches, which offers a complementary perspective on color matching and feathering techniques. See How to Repair Auto Paint Scratches. This linkage helps connect the dots between minor surface issues and more extensive paint concerns, illustrating a continuum of care rather than isolated fixes.
In summary, repairing peeling auto paint at home is feasible for small to moderate areas when you approach the task as a single, coordinated process. Preparation, careful material selection, and patient application are your allies. For larger patches or deeper damage, professional services remain the most reliable path to a flawless finish. The coverage and protection you can restore hinge on your ability to reproduce the original color and gloss with uniform, controlled layers. Treat peeling as a signal to slow down, not rush, because the final appearance, durability, and value of the vehicle depend on the painstaking attention you bring to each step. External guidance from established sources can augment your approach, offering validation and additional technique refinements. External resource: https://www.autoglass.com/car-care/repair-peeling-paint-on-car
From Peeling to Pristine: A Cohesive Path to Repaired Auto Paint and Lasting Protection
Paint peeling on a car is a signal that the shield protecting metal is compromised. When you notice flakes or chipping, the best outcomes come from a calm, methodical approach that respects adhesion, environmental exposure, and long-term protection for your investment. This chapter guides a practical, continuous narrative about guiding peeling paint back toward a durable, factory-like finish, with severity guiding intervention and prevention as the main theme. The path balances technique and restraint, focusing on a finish that withstands sun, rain, and road grime while preserving aesthetics and value.
For small, surface-level peeling, a careful DIY repair can restore the surface using clean preparation, with minimal panel repainting. Begin with thorough cleaning to remove dust, grease, and wax so the next steps bond correctly. Then soften edges with fine-grit sandpaper to create a feathered transition for the new paint. If bare metal or primer shows, apply a tiny amount of primer to those spots to guard against rust and create a uniform base. Apply color in thin, even coats, allowing each to dry before the next. A light polish after curing helps blend the repair with the surrounding finish.
For larger patches where paint lifts to reveal primer or metal, you’ll need more extensive prep: clean, sand to create a flat canvas with grits from roughly 800 to 2000, then apply a high-quality automotive primer. After the primer cures, apply color with a spray can or airbrush in multiple light coats, keeping distance consistent to avoid runs. Once the color has cured, polish the area to blend it with the rest of the panel, and resist washing or exposure to the elements during curing.
In severe peeling cases, professional repair is typically warranted. A shop can address structural issues, re-shape the panel if needed, sand back to bare metal, apply primer, and perform color matching with factory-grade color and a clear coat for depth and protection. The result should be a durable, seamless finish that endures sun and weather and maintains value, with a controlled environment reducing the risk of defects.
Across all severities, color matching is crucial: aim for the same brand, batch if possible, and rely on data from a dealership or trusted supplier. A controlled environment for final application minimizes dust and temperature fluctuations that can reveal defects. Prevention remains essential: regular washing, prompt removal of contaminants, and a protective wax or sealant routine shield the paint from UV rays and moisture. Park in shade or a garage when possible, and perform monthly visual checks to catch issues early. If a chip or scratch appears, address it promptly to minimize moisture intrusion and corrosion.
For readers exploring DIY along with professional options, a targeted, stepwise approach keeps the task manageable, and resources on color matching and application techniques can supplement this guide. External resources can provide practical demonstrations to complement the written guidance and help preserve your car’s appearance over time.
Final thoughts
Repairing peeling auto paint is pivotal for maintaining your vehicle’s appeal and overall value. Whether dealing with minor damage or extensive peeling, understanding the right techniques and tools can empower you to restore your paint effectively. Remember, for severe cases, don’t hesitate to seek professional help to achieve the best results. Additionally, implementing routine maintenance practices like regular waxing and thorough cleaning will help prevent future peeling and prolong the life of your vehicle’s paint. Stay vigilant and proactive to keep your ride looking its best!