
Leather seats are synonymous with luxury and comfort, but they are also prone to wear and tear over time. Motorcycle owners and auto enthusiasts alike can face the challenge of maintaining their leather seats against scratches, fading, and even tears. Understanding how to repair these valuable components not only enhances the aesthetic appeal of your vehicle but also significantly extends its lifespan. This comprehensive guide dives deep into assessing damage, executing repairs, mastering advanced techniques, and practicing preventative care. Each section will equip you with essential knowledge and practical skills to tackle leather seat issues head-on.
Reading the Wear: A Thorough Assessment of Auto Leather Seat Damage to Guide Repair
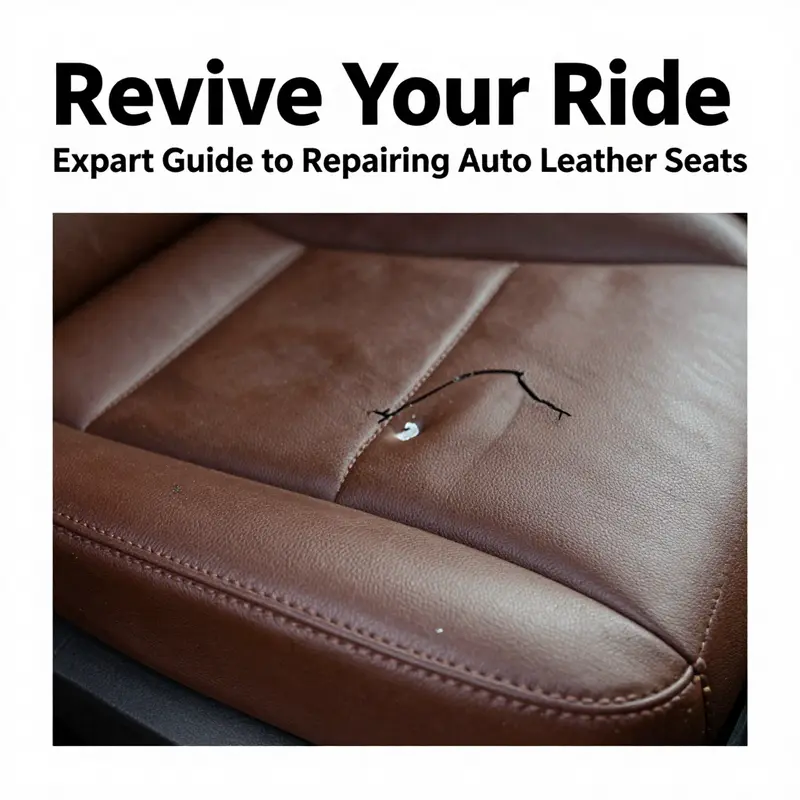
Reading the wear on auto leather seats demands a patient, practiced eye. It is the quiet, often overlooked stage that determines how you approach any repair. A seat speaks through its surface, but the message extends beyond what you can see with a casual glance. The goal of assessment is not merely to catalog marks; it is to understand depth, structure, and longevity. When the light hits the grain just right, the leather reveals both its history and its tolerance for future use. This is why a thorough assessment begins with deliberate observation under strong lighting, using the naked eye to note everything from faint scuffs to visible cracks, and then moving toward a more measured evaluation that considers both surface appearance and the integrity of the backing beneath. The method is practical, not ceremonial, because the repair path chosen after assessment will determine whether a seat retains its original feel and color, or whether more extensive restoration is required. In this sense, assessment is the bridge between problem and solution, the hinge on which durable results depend.
The core of a reliable assessment lies in a disciplined visual inspection. Scratches, scuffs, and color fading are the most obvious signs of wear, but they tell different stories depending on their depth and location. A shallow scuff on a side panel might respond well to cleaning and conditioning, preserving the original hide and avoiding intrusive filler work. A deeper scratch or a creased line across a seat back may indicate the leather’s surface layer has been worn away, exposing a different texture or a slight alteration in color. These indicators help distinguish surface-level wear from problems that creep beneath the surface, where repair decisions become more complex and potential outcomes more variable. The light is not a mere accessory in this process; it is a diagnostic tool that helps reveal micro-scratches, faded edges, or hairline cracks that would otherwise be missed in ordinary conditions. The eye tracks irregularities, and the hand confirms what the eye suspects by evaluating how the leather yields under gentle pressure, how easily color might rub off, and whether the texture remains uniformly supple or begins to feel dry and brittle.
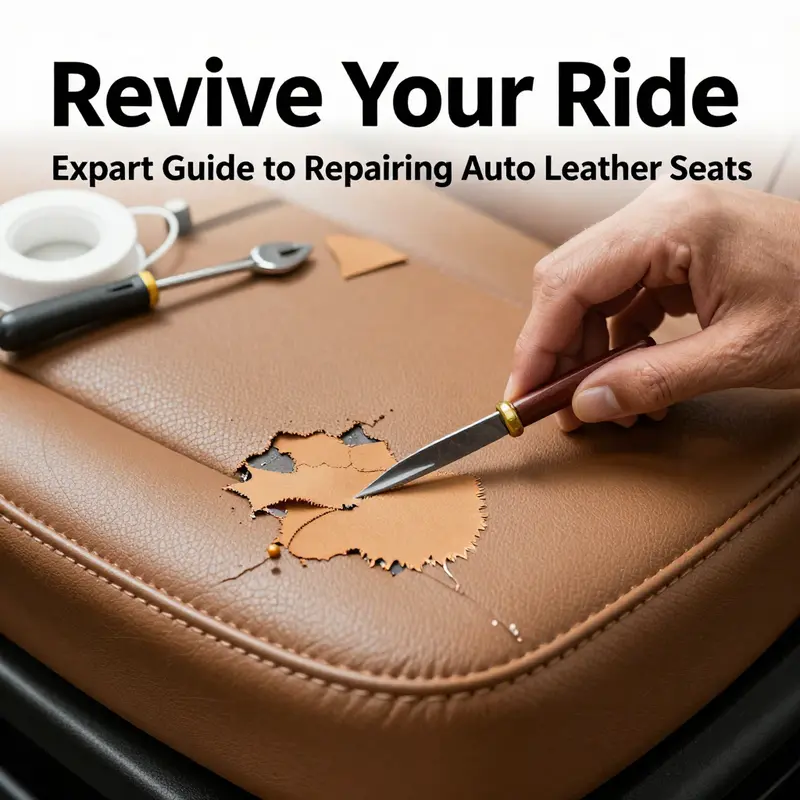
Of particular importance are the high-use areas where friction, heat, and body movement concentrate wear. The seat edges, where the thigh and hip repeatedly contact the leather, often show accelerated aging. Armrests and center creases endure constant contact, heat from the sun, and routine cleaning that can gradually strip away surface oils. In these zones, what might appear as a faint difference in sheen could signal substantive changes in the top layer’s integrity. It is helpful to think of damage as layered: surface-level problems may be resolved with cleaning and conditioning, while deeper fissures or small gaps in the fibrous structure point toward fillers or color-matching work, and tears or holes demand more structural intervention. A careful survey across multiple zones of the seat helps avoid surprises when the repair gets underway and ensures that the selected approach addresses not just the visibly damaged spot but the surrounding area that will influence the final appearance and durability.
To refine the assessment, some practitioners extend their examination with precise, professional tools. A magnifying glass or a small digital microscope can reveal the depth of a scratch, the extent of material loss, or the way the backing adheres to the top grain. The depth can determine whether a simple color touch-up will suffice or if a more robust filler and sealing system is required. The use of such tools, however, is a decision for the assessor’s judgment, balancing the cost, time, and expected outcome against the severity of the damage. When a repair involves any level of color matching, those depth cues become even more critical, because the illusion of continuity depends on a consistent color under varied lighting conditions and across adjacent panels that may have aged differently. The assessment thus becomes as much about perception as it is about measurable depth.
Beyond the visible surface, the condition of the substrate—the material beneath the leather top—plays a decisive role in how repairs are planned. The durability of leather is intimately tied to its backing and any intermediate layers. If the substrate shows dryness, brittleness, or signs of delamination, the long-term success of a patch or dye application may be compromised. For professionals, this is where standards and objective testing enter the conversation. ISO 17130, which relates to automotive interior materials, encourages technicians to evaluate the leather’s resistance to cracking and folding under stress, along with signs of backing failure. While a DIY fix might still appear satisfactory in the short term, adherence to such standards helps ensure the repair holds up under real-world use and climate fluctuations. In practice, this means that an assessment must consider not only the surface damage but whether the seat’s internal layers are aging or failing in ways that could doom a patched area to crack again or peel away from the backing years later.
When the substrate shows compromised integrity, the assessor must quantify the potential for future issues. Fractures or breaks in the base material can vary in severity, and the decision to recondition, patch, or replace hinges on a careful cost-benefit analysis that weighs durability, aesthetics, and total vehicle value. In some cases, fully reconditioning or even replacing the affected panel becomes the most economical choice, especially when deep damage or delamination signs indicate that a patch would only provide a temporary fix. The objective is not to chase a perfect aesthetic at any cost, but to achieve a durable repair that preserves the leather’s feel and appearance for several seasons of use. It is here that an honest appraisal—grounded in both observation and objective testing—serves as a safeguard against overpromising what a spot repair can realistically deliver.
This is also why consultation with specialists matters. A certified leather restoration technician can perform a diagnostic with color-matching spectrophotometers to ensure the new material aligns with the existing hue and tone across the entire seat. Non-destructive testing methods help assess internal geometry and the layering beneath the leather without invasive procedures. Such expertise becomes especially valuable when color consistency spans multiple panels or when the vehicle’s interior has aged unevenly due to sun exposure, seat heating, or cleaning regimes. The goal is to produce a repair that feels seamless to the touch and looks uniform under daylight and artificial lighting alike. Engaging professional guidance at the assessment stage is not a sign of weakness or the surrender of DIY spirit; it is a practical safeguard that protects value and satisfaction, particularly for high-value vehicles where even a small mismatch stands out.
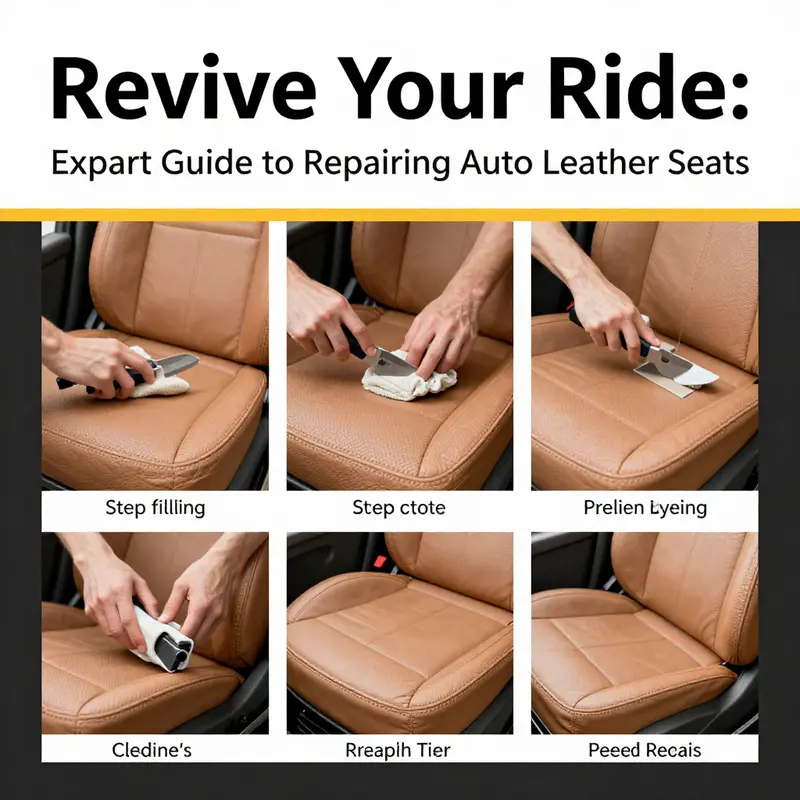
In the end, the assessment defines the repair trajectory. A straightforward surface scratch in a low-traffic area may warrant only meticulous cleaning and conditioning, followed by a light protective sealant. A deeper scratch with color loss could be addressed with a filler, followed by color-matched dye and a final sealing layer. Tears or holes, where the top layer may be partially removed or separated from the backing, require a different calculus, sometimes involving patching, adhesive bonding, or even a careful stitch-and-sew approach if the patch insists on structural continuity. Indentations that result from prolonged pressure or heat can often be remediated with a controlled combination of heat, moisture, and pressure, returning the leather to a more natural contour when paired with conditioning to restore suppleness. The most severe cases, where cracks extend across large areas or backing becomes exposed, call for professional reupholstery or complete replacement of the affected section. That is not a failure of the leather or the owner’s care; it is simply the reality of long-term use and aging, a reminder that assessment must be rooted in realism at every decision point.
To weave this understanding into a practical mindset, consider how the assessment connects to the broader repair process. If the damage is primarily superficial and the substrate remains sound, the repair plan can stay lean and targeted, preserving as much of the original leather as possible. If deeper layers show signs of fatigue, the plan should emphasize stabilization, color accuracy, and long-term protection through conditioning and topcoats that reduce future wear. This approach requires patience and a willingness to adjust expectations based on what the assessment reveals. For those who want a broader perspective on repair strategies as a whole, a general overview exists in the wider repair landscape—a reminder that leather repair is a spectrum, not a single technique. For readers seeking a concise exploration of how these strategies come together, see a-to-z-auto-repair.
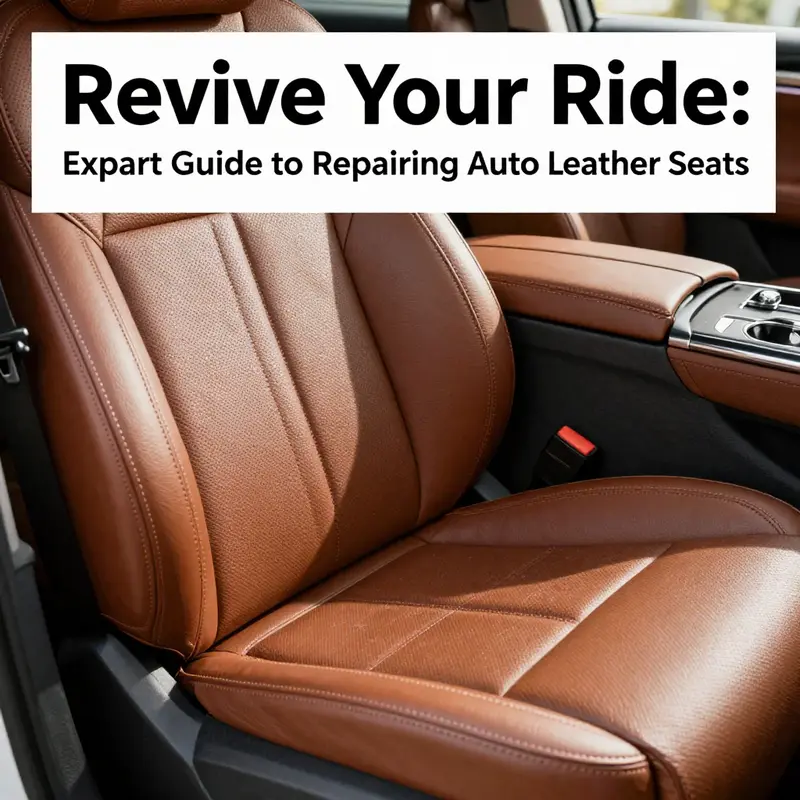
As you move from assessment toward actual repair, keep in mind that the learning from this stage is not only about fixing a blemish. It is about extending the life of the seat, preserving the look and feel of the interior, and maintaining the vehicle’s resale value. The assessment serves as a map, guiding you through a sequence of decisions that balance practicality, cost, and aesthetic fidelity. A near-mint appearance is not the minimum goal; the aim is a repair that endures under regular use, resists future cracking, and remains visually consistent with the surrounding leather. By embracing a thorough, thoughtful assessment, you lay a foundation for a repair that satisfies both the sense of touch and the eye, a repair that respects the leather’s natural character while reinforcing its ability to serve well for years to come.
External resource: CarCarePros Auto Leather Repair Assessment: https://www.carcarepros.com/auto-leather-repair-assessment
Internal reference: For a broad overview of repair strategies across vehicles, consult the broader repair landscape at a-to-z-auto-repair.
null
null
null
null
Guarding the Seat: Proactive Care to Minimize Leather Repair Needs
Leather care starts with prevention: a simple routine of regular light cleaning, controlled heat and sunlight exposure, conditioning, and smart protection that keeps the surface supple and reduces the likelihood of cracks or stains that would otherwise require repair.
Final thoughts
Repairing and maintaining auto leather seats is not only about aesthetics; it’s about preserving an investment that contributes to overall vehicle comfort and value. By understanding the different damage types and adhering to outlined repair methods, motorcycle and auto owners can achieve professional results at home. Additionally, incorporating preventative care into your vehicle maintenance routine will ensure the durability and longevity of your leather upholstery, keeping your ride looking sharp for years to come.